
It happens to all of us. We print documents throughout the day at work, receive mail, and are handed documents at almost every meeting we attend. By the end of the day, we have a handful of papers that we did not previously have. By the end of the week, we have a overwhelming pile of papers sitting somewhere (or everywhere) in our office. The good news is that, there are just a few steps to a paperless office you can take to tackle the paper clutter predicament.

Benefits of Going Paperless
Paper storage not only take up space, it is also are not the most efficient way of keeping information.
If your documents are on a computer, you can search by keyword and have a better chance of locating that file that you are not sure where you placed.
Electronic documents can also be backed up and secured more easily than paper documents.
Furthermore, information stored electronically can be more easily made into more meaningful information. For example, if you enter data on a spreadsheet, you can easily convert that data into a graph and observe trends over time.
Fortunately, the technology you need to achieve all of these benefits is easily accessible nowadays. Also, the steps are not very complicated once you get the hang of them.
Equipment You Will Need to Go Paperless
A few items that are important for going paperless are a high-quality scanner, a PDF editor, and a shredder.
- A quality scanner is perhaps the most essential of the go paperless solutions available. It should hopefully be able to scan in color or in black and white and be able to scan both sides of the paper. It should also be able to scan several pages per minute at a decent resolution.
- I recommend the Raven scanner because it has all of these features. It makes scanning a large quantity of files a breeze.
- Once you scan your documents, they will be in PDF format. The PDF editors will help you make adjustments to you scan after they are in the computer. Such adjustments might include deleting blank pages, rotating pages, or event making your documents searchable. Adobe’s PDF editor and Nuance PDF converter are two programs can perform these edits.
- The shredder is needed to ensure that, when you get rid of the papers you have already scanned, “bad guys” will not gain access to information. It is good to take every measure possible to prevent your information from being used in bad ways. And shredding your papers is a good practice to get used to.
Additionally, you would also make use of a an external drive to which you can back up your computer information.
Steps to a Paperless Office – No 1: Scan
Group your documents by general topic or project before scanning that is a good starting point. It is a good idea to give some to what general categories you want to scan things in. For example, it could be by projects, by year, by company, certain groups of clients, etc.
You should not create too few or too many categories. Strive for about 10, but this number is flexible. Make sure that your give the files a descriptive name when first saving them.
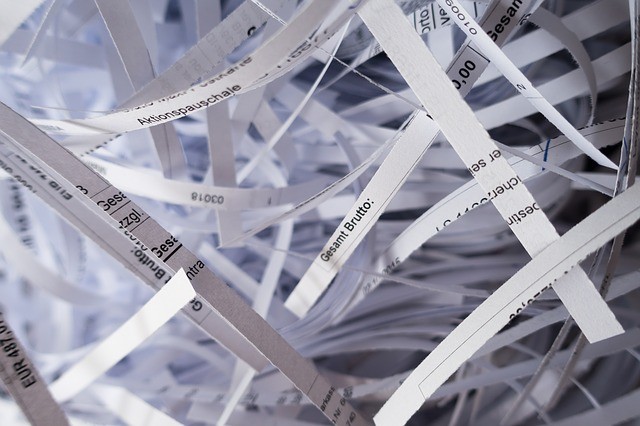
Steps to a Paperless Office – No 2: Shred
After you scan the paper files, you can now get rid of them and regain some space! Before shredding them, however, make sure to verify that all pages were scanned. In some cases, you might need to go back and re-scan any particular page. Particularly if you are scanning important documents, you should always perform this check before shredding the original documents. You might also want to make sure that it’s okay to shred the originals. While electronic documents are largely acceptable in place or original documents nowadays, your employer might have a preference for paper documents.
Steps to a Paperless Office – No 3: Organize
If you scanned a large group of documents at a time, they will appear as a single document in your computer. If you would like to break up the document into multiple documents, you can do so with your PDF editor. You might even want to use the PDF editor to make your scanned files searchable.
After you have subdivided the scanned documents, you should categorize them electronically into folders and folders. Just as with paper, you want to be sure that you are able to find the files that you scanned. There is no use in storing things if you are not able to locate them when you need them.
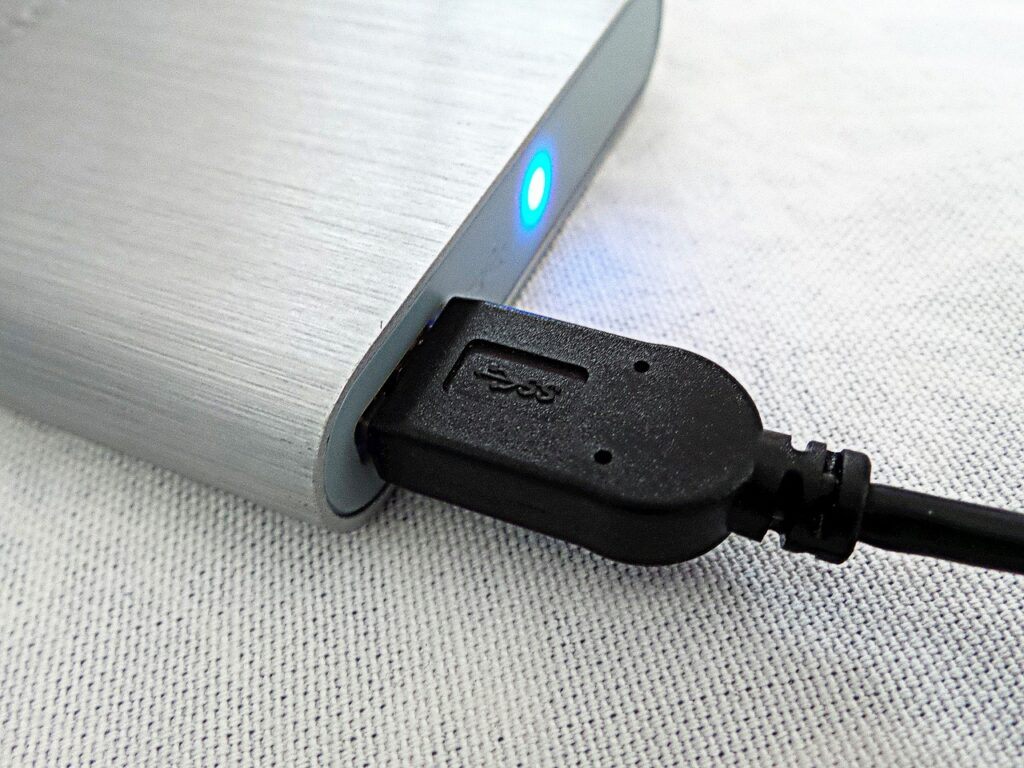
Steps to a Paperless Office – No 4: Backup
Computer files are subject to being erased due to unintentional error, viruses, or hardware malfunction. Therefore, it is wise to create at least one copy of your electronic files as soon as possible after scanning an organizing the files.
You can do so by copying your information into external storage. Or you can save them into cloud storage.
External storage likely keeps your files safer from hackers who might otherwise be able to infiltrate your network. On the other hand, cloud storage likely provides more convenience in terms of access to your information.
Steps to a Paperless Office – No 5: Repeat
It might be most effective if you scan things in bunches rather than every time you acquire a new document. Perhaps each week, or each month, set some times to scan documents that you have accumulated during the week. The frequency you select will be based on how many papers come by you, and also your personal scanning style. If scanning things at the moment works for you, then do that. The important thing is to be consistent.
You might be interested in: How to Organize an Office Space
Steps to a Paperless Office – No 6: Adopt E-Notes
Apart from scanning paper documents, you should avoid handwritten notes. This is especially true since even a PDF editor cannot convert handwritten text into searchable text.
Microsoft OneNote is great for this because you can easily create separate notebooks for your notes. Within them, you can create separate sections and pages. You can import images, audio, draw in it, perform math operations and so much more! Another feature I love is how easy it is to create checklists and give list items different tags. The fact that it is free, searchable, and allows note accesses from different devices are also great benefits.
Other alternatives to Microsoft OneNote are Google Keep or Evernote. These applications also have great feature and are all accessible form multiple devices. This means you can update information wherever you are, whether on the cell phone or desktop. You will likely also find it easier to see your notes all in one place rather than reaching out for post its you have scattered all over.
While jotting quick notes on a cell phone is feasible for brief sticky note style content, to maximize your chances of documenting more substantial content (e.g. meeting minutes) electronically, it is handy to have a small portable laptop that you can carry around with you all the time.
The Microsoft Surface Go is an example of a laptop that is as portable than a notebook. (I love my Surface Go!) You will also want to get the type cover to more easily be able to type in the device. A mouse and a dock (to be able to hook up to printers, projectors, etc.) are other more optional, but still quite important, accessories you might want to consider getting if you get a Surface go.
Of course, if you do note something down on paper, transfer the content to your electronic notes as soon as possible and shred it.
It takes some effort to adjust to keeping electronic notes, but ultimately help you be more efficient and organized. For sure, it will definitely help you cut down on littering your desk with post it notes or papers.

Regularly Purge Electronic Documents
Even though you can get away with more unnecessary thing electronically, it is best to get rid of things you don’t need. This makes it easier to find important things and require less storage. That is why a few times a year, you should go over your files and purge those that you will not need again. This is not unlike what you would do with paper files after all.
Conclusion
With the right equipment and the right process, you can save yourself the burden of taking up valuable workspace. You can also work more efficiently by making your information you need more easily to find and access. Furthermore, you can potentially also make your information safer and more secure, as well as be able to make better use of information.
If this is your first foray into your efforts of going paperless, and you have accumulated a lot of paperwork, if will definitely take an enormous amount of effort and commitment to start your paperless journey. Once you get started, however, you will feel motivated by your progress and the benefits of electronic document storage. When you are done, you will likely be thrilled to have new space available to you and will wonder why you did go paperless much sooner. I hope these steps to paperless office will help you in your quest to become paperless.
You might be interested in: Raven Scanner Review – Go Paperless Solution
Sharing is Caring
If you enjoyed this post, please share it with your friends on social media.